

A silver wrap is a classic bow adornment that adds some weight to the bow to help adjust the balance point. Our goal is to make a beautiful, shiny, tight, and even wrap that gives us all the right measurements.
Materials
Blue masking tape
Scale
Pencil
Ruler (both inches and millimeters)
Spool of Silver wire (coin silver or sterling silver tempered dead soft or 1/4 hard) different gauges you might need: .2, .26, .3, .33
Hammer
Bench block
Mineral spirits
Vise
Dowel
Soldering iron
Rosin core solder
Flux
Fine steel wool
Metal file (2 cut)
Recording important numbers
To begin, record the initial weight and balance point of the bow, and the starting point and material of the current wrap. Next, record the weight and balance point of the bow after each material is removed. This seems tedious, but it will be very helpful in returning the bow to its initial weight and balance point, if that is desired. Alternately, recording the weight now can give you a better idea of what needs to change. If this is a customer bow, be clear about if they want the bow returned to its exact weight and balance point or if they are looking to change it.
- I weigh the bow in grams using a scale, making sure to weigh it with the frog and button on the bow every time.
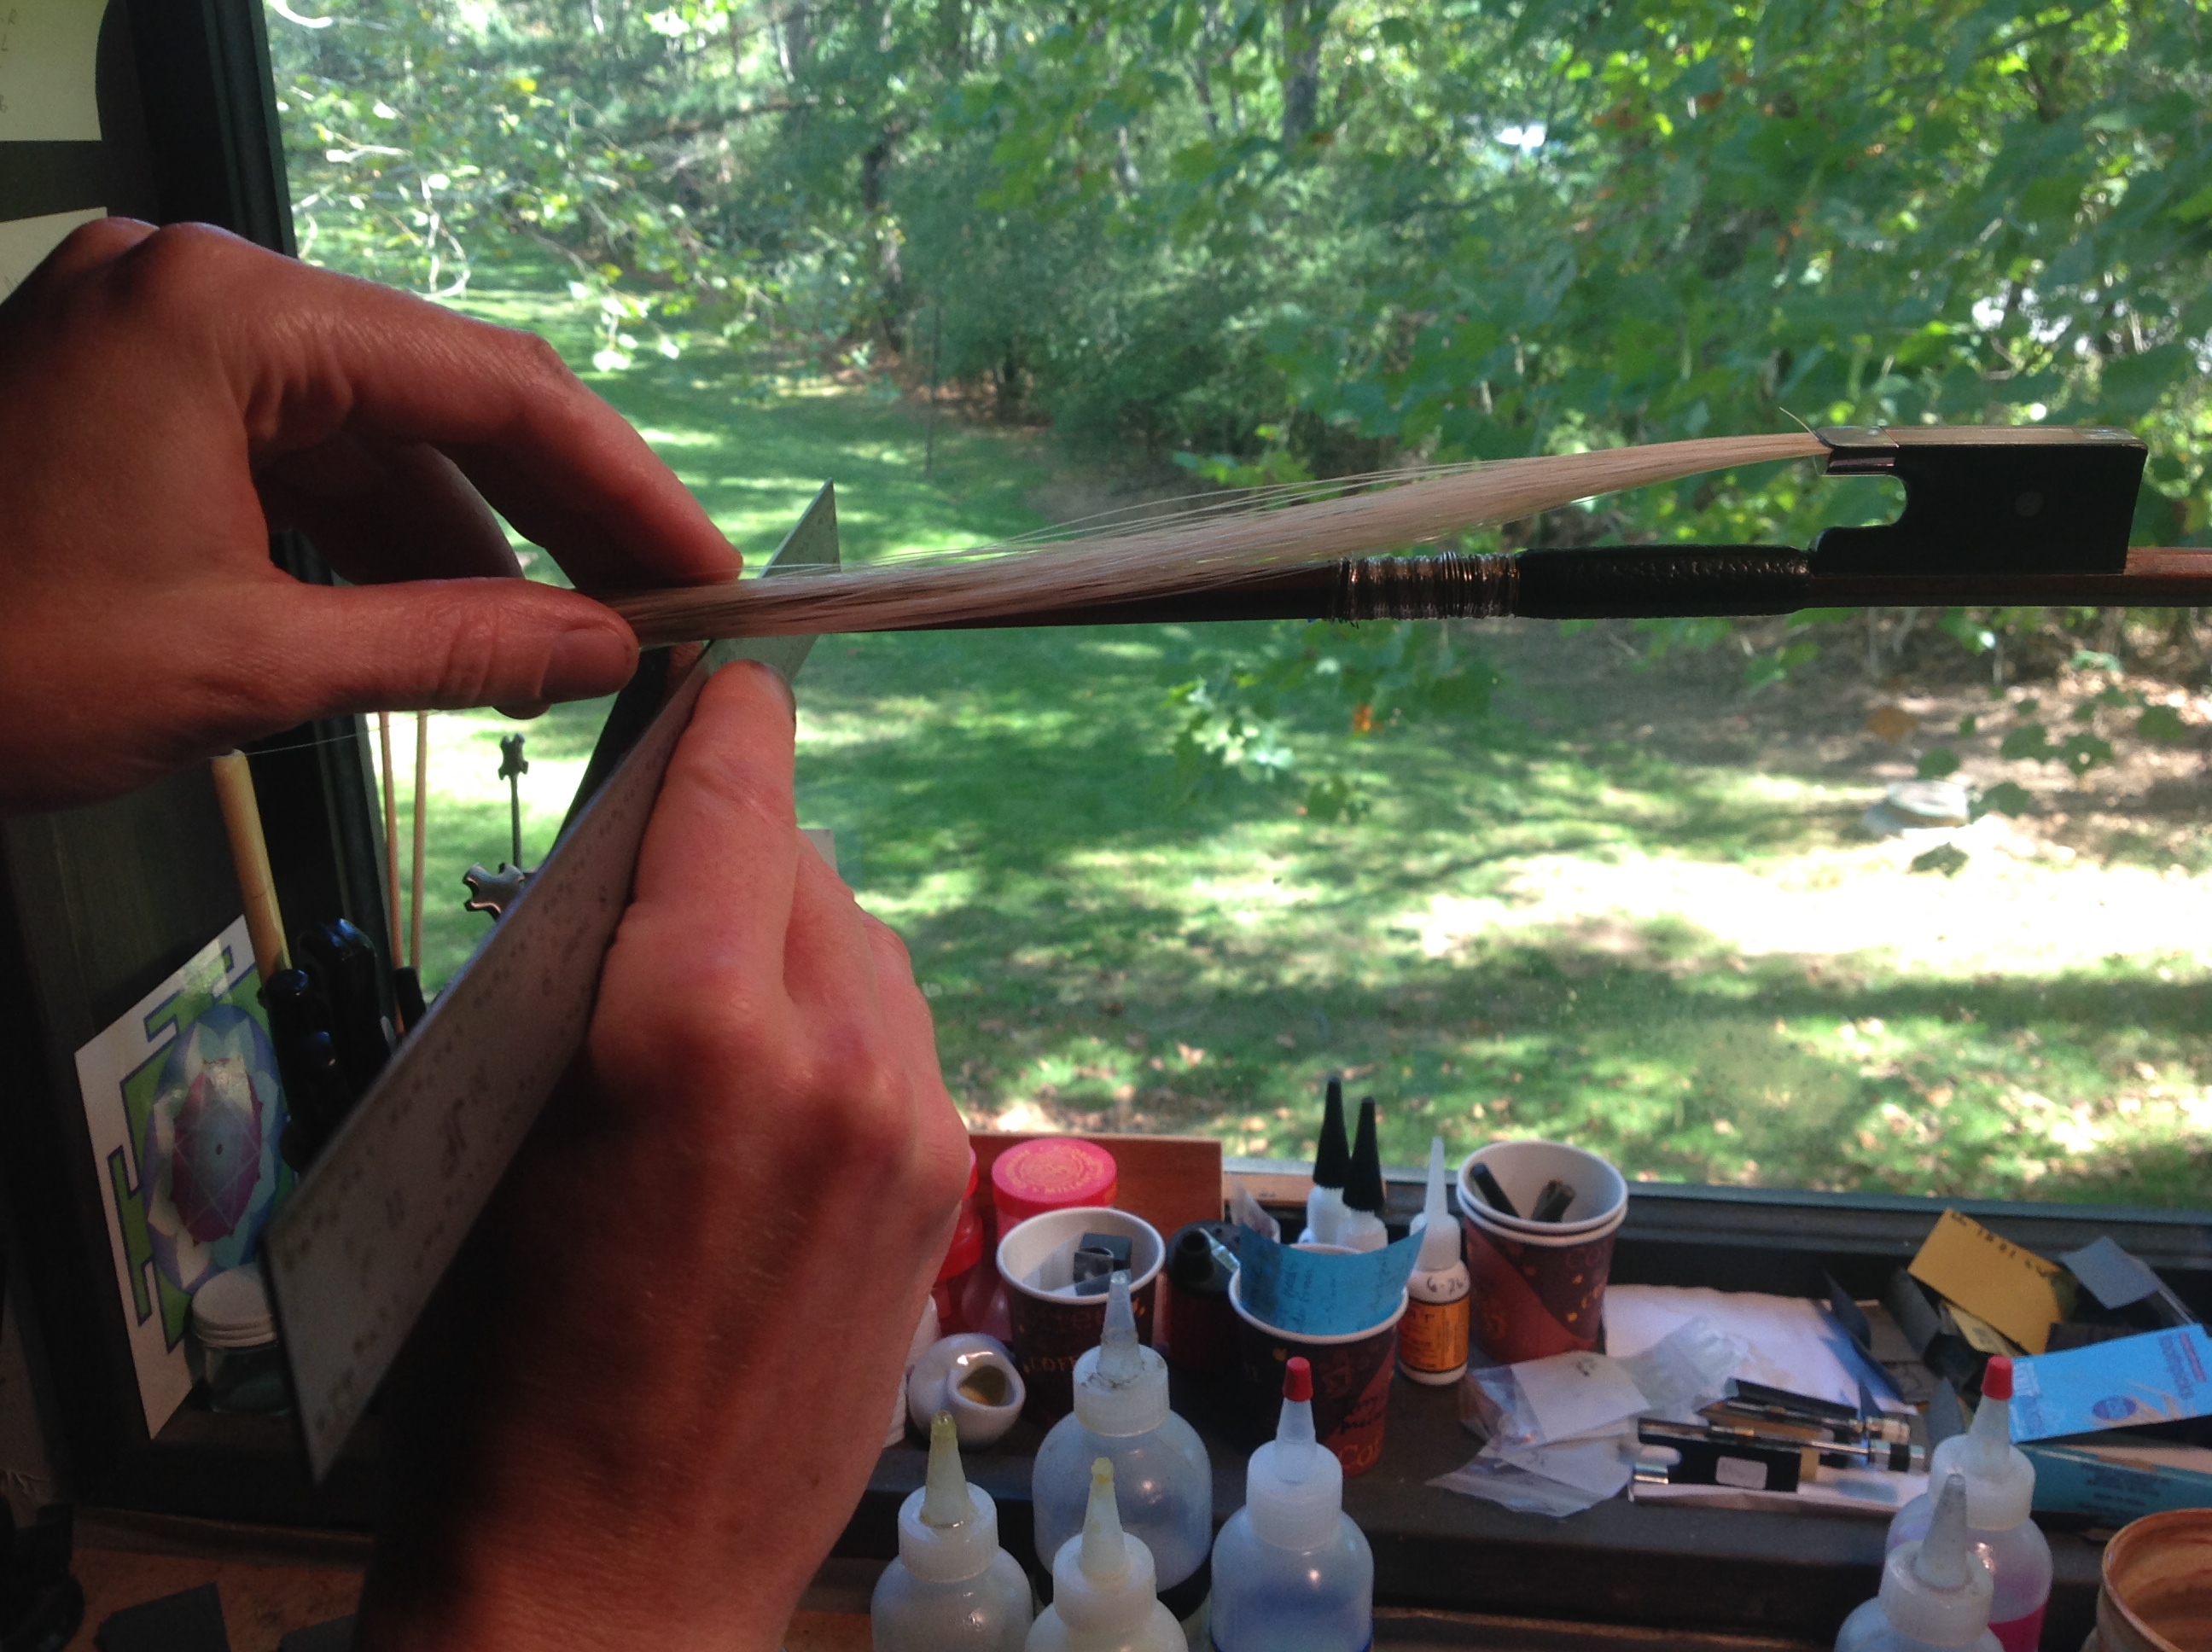
- To measure the balance point, I loosen the tension on the hair until the frog is in its most forward position, or closest to the tip, and make sure the button isn’t starting to push itself away from the stick. Then, I balance the stick, and from this point measure back to where the thumb projection of the frog meets the thumb leather. This measurement is usually taken in inches. I measure to the thumb projection of the frog because this will be the fulcrum of stick, or where your hand will be gripping the bow.

Here’s a helpful little chart I make for myself to fill in before each wrap:
| Weight | Balance Point | |
| Wrap, Thumb leather, Hair | ||
| Wrap, Thumb leather | ||
| Wrap | ||
| Nothing |
When I remove the previous wrap, if it is made of silver, I will measure the gauge of silver and record it. I will also see how far the silver wrap continues under the thumb leather, and record its total length as well.
Determining new wrap specs
Triangle Strings has assembled some pretty helpful measurement guides over the years including this one that gives you some estimates for the approximate weights of differently gauged silver of various lengths, on violin, viola, and cello bows.

Also, we have an ideal range of where we want the balance point and weight to be for different bows.
| Ideal Weight | Ideal Balance Point | |
| violin | 60g | 7 ¼”- 7 ½” |
| viola | 70g | 7 ¼” – 7 ½” |
| cello | 80g | 6 7/8” – 7 1/8” |
If we are re-hairing the bow, the balance point and weight change a bit too. Hair will add 5g and add ¼” to the balance point. Take this into account when taking measurements on a bow without hair!
If the bow with the previous wrap fell within the ideal balance point and weight-range then my job will be easy. I will simply copy the previous wraps’ length, and silver-gauge, and it should be very close. However, this is not necessarily the norm. So, it takes a bit of playing around to see and feel how the balance point moves with the weight and length of the wrap.
It’s important to note that not all bows can attain these specs, but these measurements are what we’ve found to be ideal numbers. The balance point is really the most important measurement that we are shooting for. It’s possible to make the bow feel heavier or lighter based off of the position of the balance point, not just the weight of the bow.
Cleaning the stick
Removing the previous thumb leather and wrap can be very easy when it’s already coming off and unraveling, but if the thumb leather is really stuck on, then it takes a little more effort. I try wrapping a small folded paper towel around just the thumb leather and soak it with water. After letting it sit for about 5-10min, I try and peel it off at the seam. If it is still too difficult, I try using a knife to carefully cut away parts of the thumb leather without cutting into the stick. Sometimes there is tape or glued paper under the thumb leather which should be removed using mineral spirits. If there is silk thread, that can be pried up and unraveled. The previous silver wrap can be carefully unraveled by cutting just one strand of silver with a knife and that will unravel the rest. Clean the bow of all debris.
Starting the wrap
Mark the stick with a pencil where you will start the wrap. This will be 75mm from the thumb projection of the frog when the frog is in the position of being closest to the tip of the bow. Mark it on the bevel of the bow that the mortise for the frog is also located.
Set up a spool of the properly gauged silver wire on a tapered dowel in a vise so that you can unroll a bit of wire at a time and then pull it taut. You might also want to get a few small pieces of blue masking tape handy, some fine steel wool, a hammer, bench block, solder, soldering iron, and flux all within arms reach.

Unwind about 1 foot of silver wire, clean it with steel wool, and hammer a small section flat against the bench block toward the end of the wire. There should be a very crisp start to the flat section, so hammer confidently with the edge of the hammer here.


Now pull the silver taut and place this crisp transition point right on the stick where you drew your starting line. Back-wrap the flattened wire and the end of the wire toward the frog mortise and tape it down to the stick just to hold it in place.

With the silver wire pulled taut, start turning the stick toward yourself and when you wrap the silver all the way around, cross over the flattened silver right where the crisp transition is. Make sure this is still located at your mark and on the same bevel or side with the frog mortise.

Keep turning the stick toward yourself and continue to tightly wind the silver 2-3 more times as close to the first winding as possible over the flat silver. Hold down the winding firmly with your left hand while you carefully un-tape the end of the wire. Gently pull the flattened silver to be parallel with the stick pointing back toward the mortise and tape it down to the stick again. This will make the tail of the silver barely noticeable underneath the wrap along the one bevel.

Continue wrapping the silver as close to itself as possible using a thumb to squish the silver wrap together as you go.
After you’ve got about 5mm of silver wrap on the bow, carefully cut the flat silver with a knife on an angle. Un-tape and discard the end of the silver.


Keep wrapping the silver wire around the stick and when you get too close to the spool to wrap any more, hold the wrap in place firmly with your thumb and unroll another foot or so of wire. Pull the wire taut, clean it with steel wool, and continue wrapping.

Note: Always clean the wire with steel wool before wrapping it on the bow; this will remove the tarnish and make it look great.

Keep wrapping the silver, keep squishing the silver together with your thumb, keep unspooling the silver, keep cleaning the silver, keep wrapping the silver etc. If you need to stop during this process, just put tape around the end of the wrap, this will hold it until you remove it.
Keep doing this until you go crazy, or reach your estimated length, and then do it just a little bit more! Actually, if you planned on doing a 74.5mm wrap, then just stop there, but if you estimated doing around 65mm of winding but aren’t quite sure about the weight, just do a couple more millimeters of tight winding, then loosely wind it around the stick, tape down the end, and cut the silver. It’s always easier to take it away then to add it on after you’ve cut the silver.

Now carefully put the frog back on and weigh it and check the balance point. If it’s too heavy or your balance point is too short, un-tape the end of the silver while holding the wrap in place with a thumb, and unwind a little at a time, re-tape, cut the end and re-measure until you get the desired weight and balance point.
Finishing the wrap
On the same bevel of the bow with the frog mortise, solder the end of the wrap to itself. Do this by putting a smidge of flux on a toothpick on the end of the wrap and with a hot soldering iron, touch it to the solder and get a little melted on the tip of the iron. Place the soldering iron on top of the flux and silver until a thin bead of solder covers a couple strands of silver wrap.


Tape off half of a fine metal file and file down the solder until the individual silver wire strands start appearing, or until it is level with rest of the wrap.


Make it look real pretty by burnishing it with a metal burnishing tool and some soap. The soap helps the burnisher slide over the wrap as you burnish at an angle so that the pressure you’re exerting is spread out over several strands of the wrap. This helps prevent indenting the stick with the silver. The reason we use dead-soft or 1/4 hard silver wire is because it burnishes well and helps the wrap look cohesive. Our goal with burnishing is to turn the silver wire profile into more of an oval shape, similar to the look of older bows.

There you have it! Now add a thumb leather and don’t forget the nerd!
